Note: My methods of bottom drain and filter construction have been improved since this pond was build. Please review newer consultation projects to make sure you see the latest and greatest ideas.
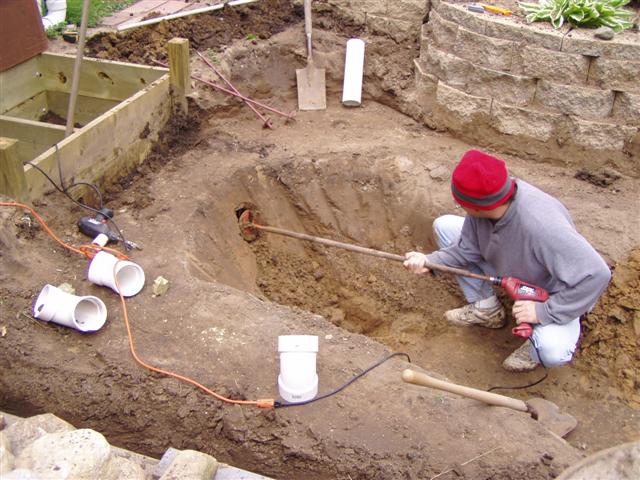
Boring a hole for the bottom drain pipe.
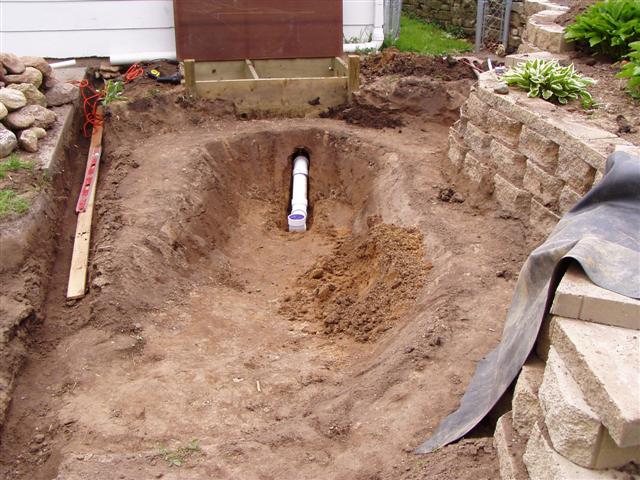
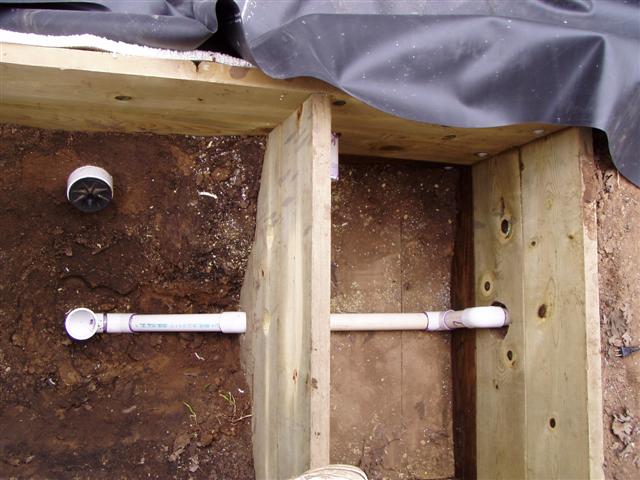
4" Bottom drain piping is in.

4" Bottom drain piping is in.
4" Bottom drain piping is in.

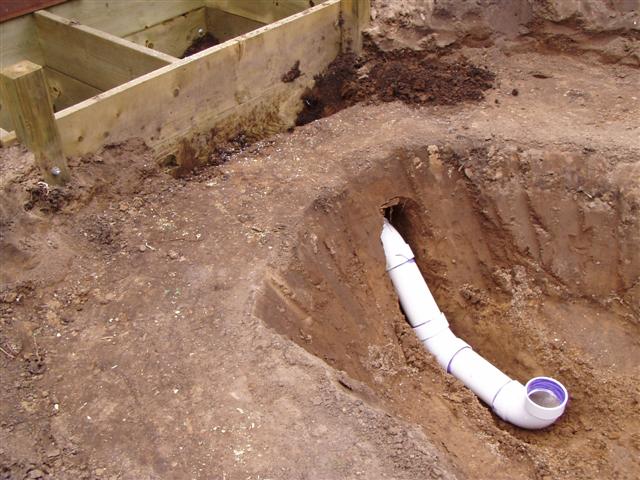
In this photo the 4" line is a drain line. The 2" line is a line from the pump to the waterfall.

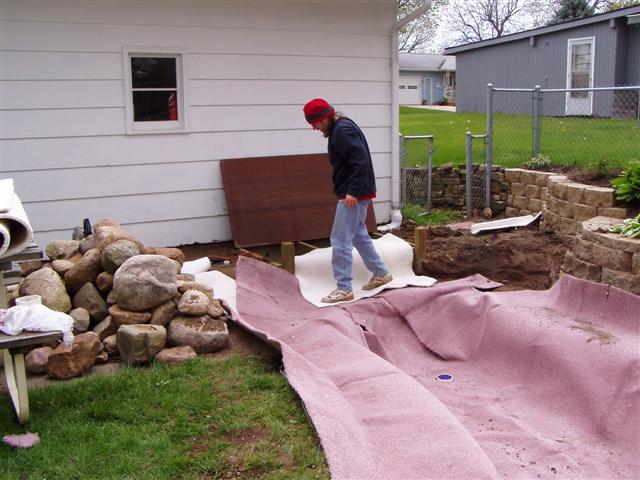
Piping is all backfilled.
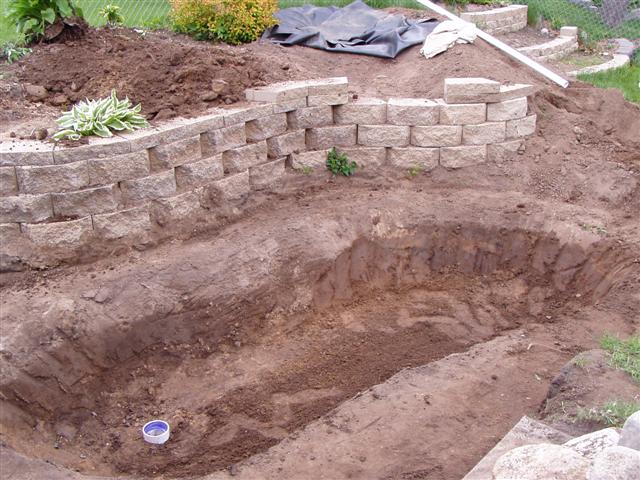
Position of the waterfall.
Carpet underlayment going in.
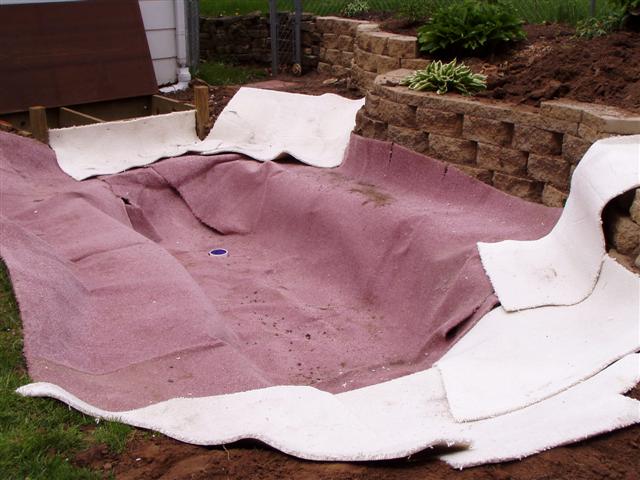
more carpet.
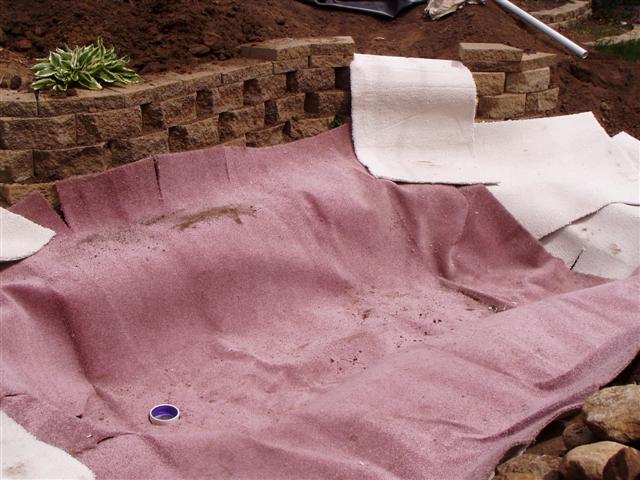
more carpet.
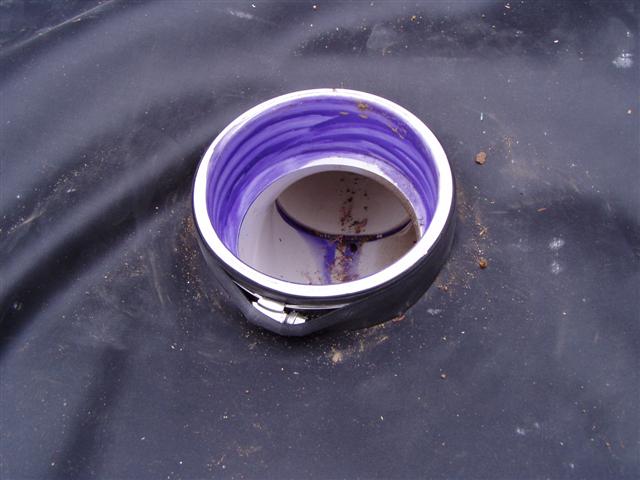
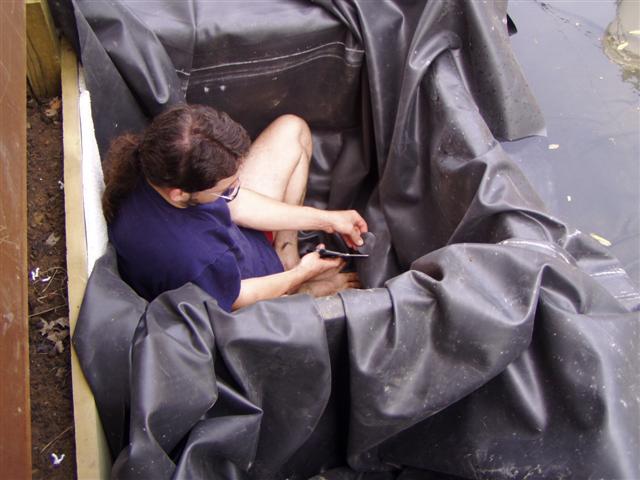
Pipe boot is connected around the bottom drain.
side view of pipe boot. Just enough exposed to hold the clamp.

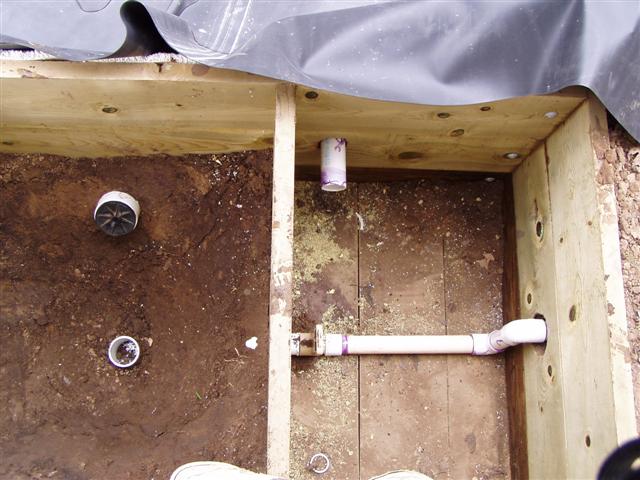
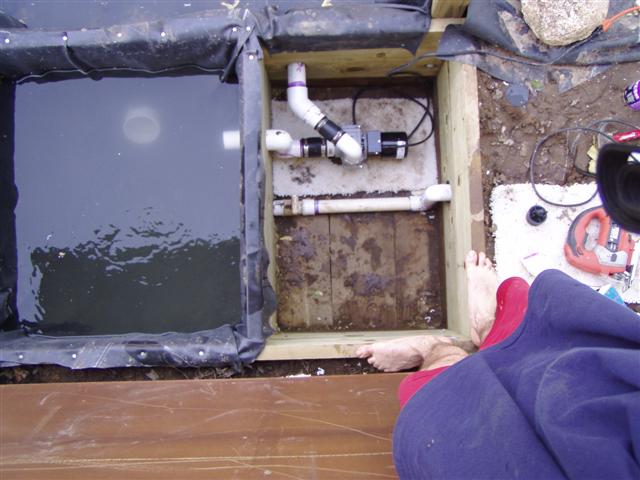
Settling chamber is ready for rubber (RFR). The 4" line (top) is from the bottom drain. The line (center) is a drain to waste.
Waste line. Normally I like the drain to be all the way at the bottom so that the entire chamber can be flushed out. For this person yard, that was not possible.

Gate valve for the waste line.
backfilled.

Liner in the pond and starting to fill.
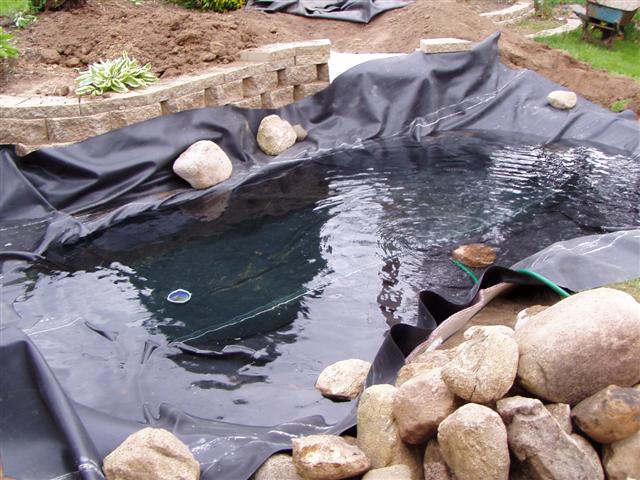
Liner in the pond and starting to fill.

Settling chamber lined with carpet.

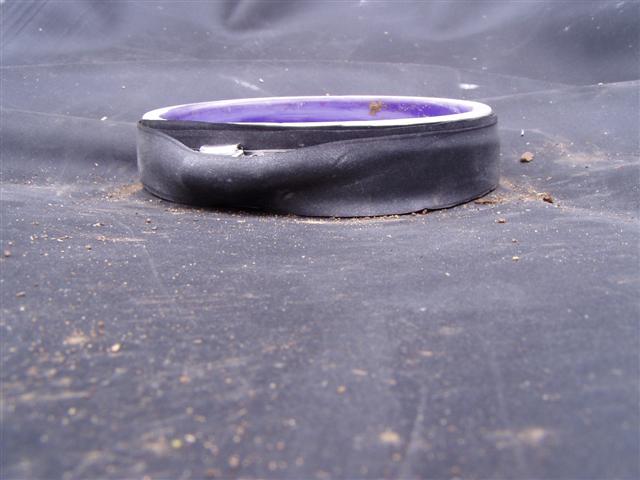
Stem which will connect the bottom drain cover to the drain.

Stem and bottom drain cover attached using a cap and stainless steel bolts.

Another angle.
Doing the pipe boots to the rubber in the settling chamber.
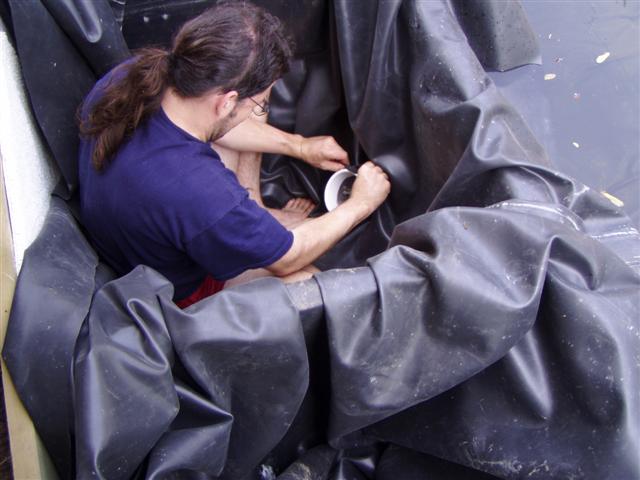
Doing the pipe boots to the rubber in the settling chamber.

Settling chamber full of water and edges secure.
Pump is connected. It is a sequence 750, 3600gph.

Rock work around the pond is almost complete. Waterfall starting to take shape.
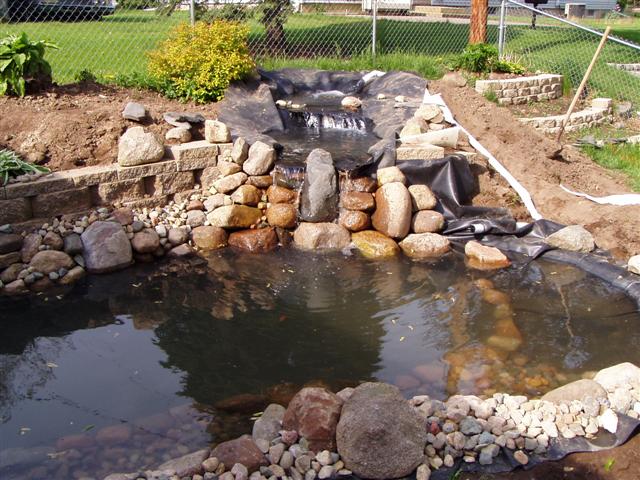
Rock work around the pond is almost complete. Waterfall starting to take shape.

looking back at settling chamber/pumphouse.